RomCom - Pair
Learning Goals
- Write clean, DRY JavaScript
- Use a provided class by creating object instances using the
newkeyword - Manipulate the page after it has loaded adding, removing, and updating elements on the DOM
- Use a provided class by creating object instances using the
- Explore the connection between HTML, CSS, and JavaScript
- Practice reading, understanding, and using provided code
- Write code collaboratively
- Document changes with atomic commits & thorough code reviews
- Communicate, troubleshoot, and plan effectively as a team
Overview
People say that romance novels are formulaic. Well … maybe that’s true. We’re going to make an app that generates romance novel covers!
Set Up
To begin, choose ONE PARTNER to do the following:
- Fork the boilerplate repository found here
- Clone down your new, forked repo. While cloning, name it what you want your project to be named, should not include “boilerplate”.
git clone <url> <newNameYouWantItToHave> cdinto the repository- Open it in your text editor
- View the project in the browser by running
open index.htmlin your terminal - Add all project partners and your assigned instructor as collaborators on the repository
Then, as a team:
- Explore the repository to see what’s going on in the code
- Look at each file:
index.html,styles.css,data.js,Cover.js,main.js - Note: no imports or exports are needed because each JS file is linked in the HTML
- Even if you don’t know what each piece of the code is doing, talk through what you think is going on
- Look at each file:
- What pieces of code might you use to complete iterations, and what pieces will you have to create?
- All of your work will take place in
main.js- you will not need to change any other files!
Day 1 Deliverables
By EOD on Kick Off Day: complete the following tasks:
- As a team, read the entire project spec and rubric
- As a team, complete the Norming Document
- Complete this project submission form to ensure your project manager has the following links:
- the forked GitHub repo
- the GitHub Pages deployed site
- Instructions for deploying: Repo Settings » Pages » Select the
mainbranch as your Source branch » Save » Send us the URL they give you in the pop up that says “Your site is ready to be published at [URL]”
- Instructions for deploying: Repo Settings » Pages » Select the
- Add all teammates and your assigned instructor as collaborators to your forked repository (Please find instructor GitHub usernames in their Slack profile)
Progression
Iteration 0 - Main Page
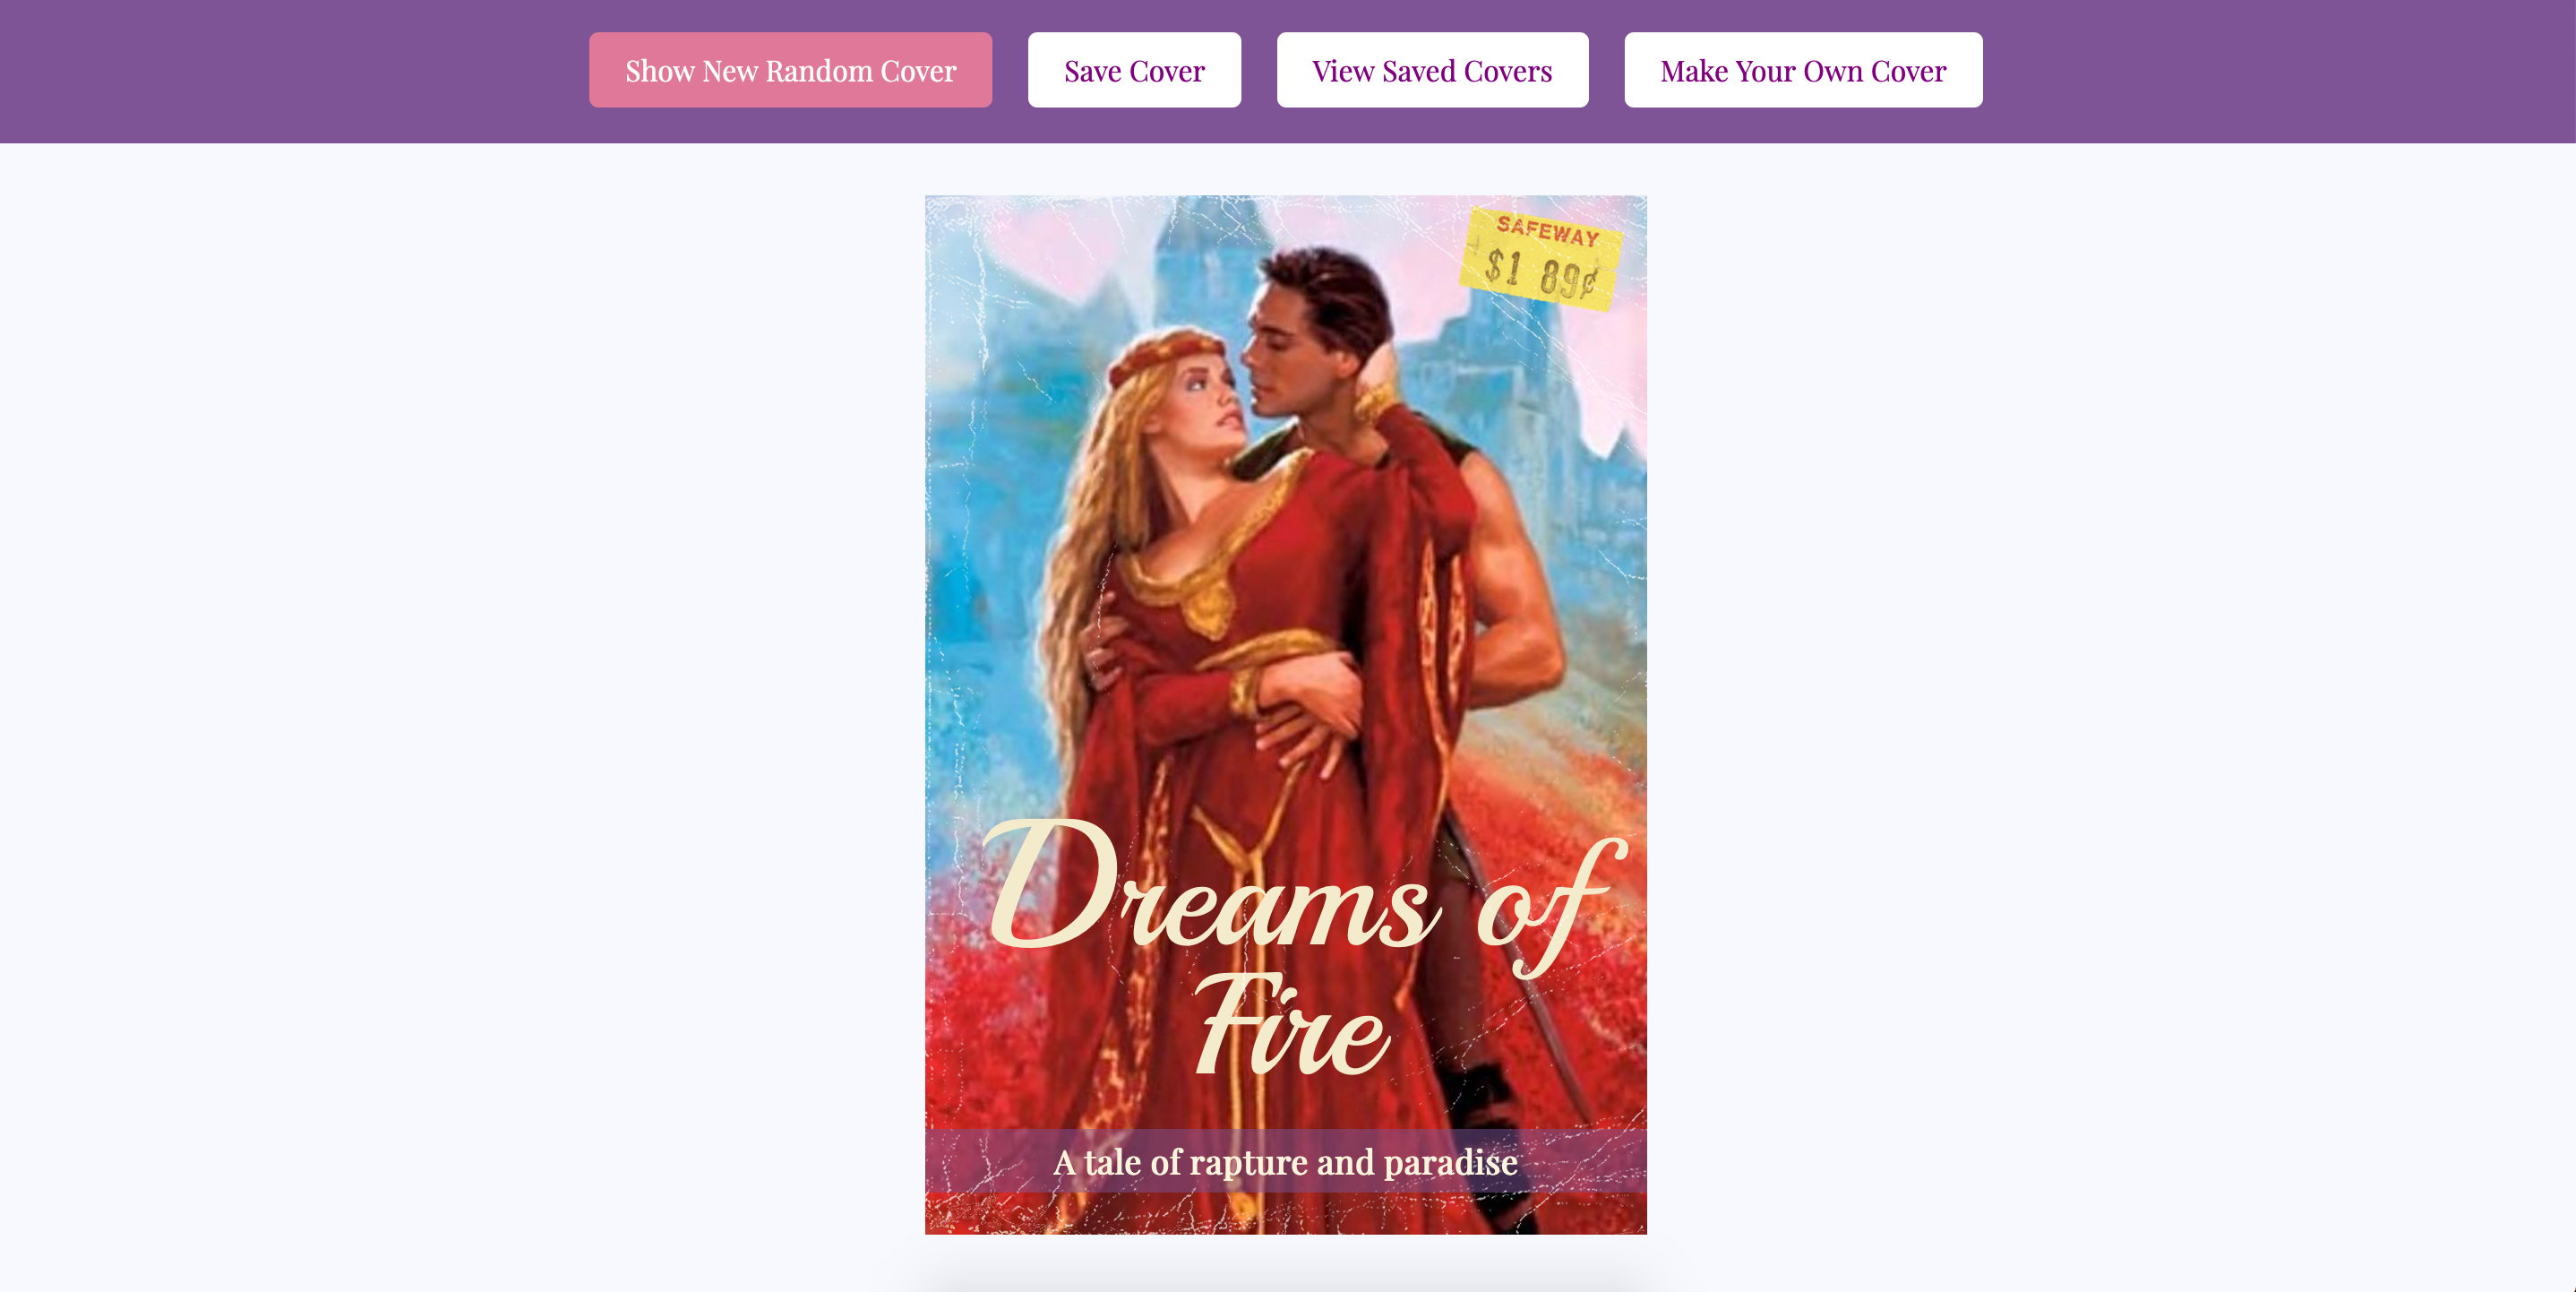
- When the page loads, we should see a cover with a randomly selected image, title, and tagline which includes two random descriptors
- Every time the user clicks the Show New Random Cover button, a new random cover is created
- hint: you may need to update the value of the provided
currentCovervariable - hint: use that Cover class!
- hint: you may need to update the value of the provided
- Every time the user clicks the Show New Random Cover button, the random cover is displayed
- hint: you may need to create a function that displays information on the DOM
Iteration 1 - Switching Views
NOTE: in this iteration, you are not worrying about making the form WORK, and you are not worrying about saving or displaying covers. You simply want to make sure the views can be switched when you click the appropriate buttons.
Form view:
- When a user clicks the “Make Your Own Cover” button, we should see the form, and the homepage view should be hidden
- When the Form view is visible, the “Show New Random Cover” and “Save Cover” buttons should be hidden
- When the Form view is visible, the “Home” button should be visible
Saved covers view:
- When a user clicks the “View Saved Covers” button, we should see the saved covers section, and the homepage view should be hidden
- When the Saved Covers view is visible, the “Show New Random Cover” and “Save Cover” buttons should be hidden
- When the Saved Covers view is visible, the “Home” button should be visible
For both the Make New Cover form section and the Saved Covers section:
- In summary: Be able to switch between the three views (main poster, form, and saved posters) on the correct button clicks
- When a user clicks the “Home” button, we should only see the Home section
- When a user clicks the “Home” button, the home button should be hidden
- When a user clicks the “Home” button, the “Show New Random Cover” and “Save Cover” buttons should be visible again
Hint: go check out the HTML and CSS files to see how the form and saved covers sections are being hidden in the first place
Iteration 2 - Creating a New Cover
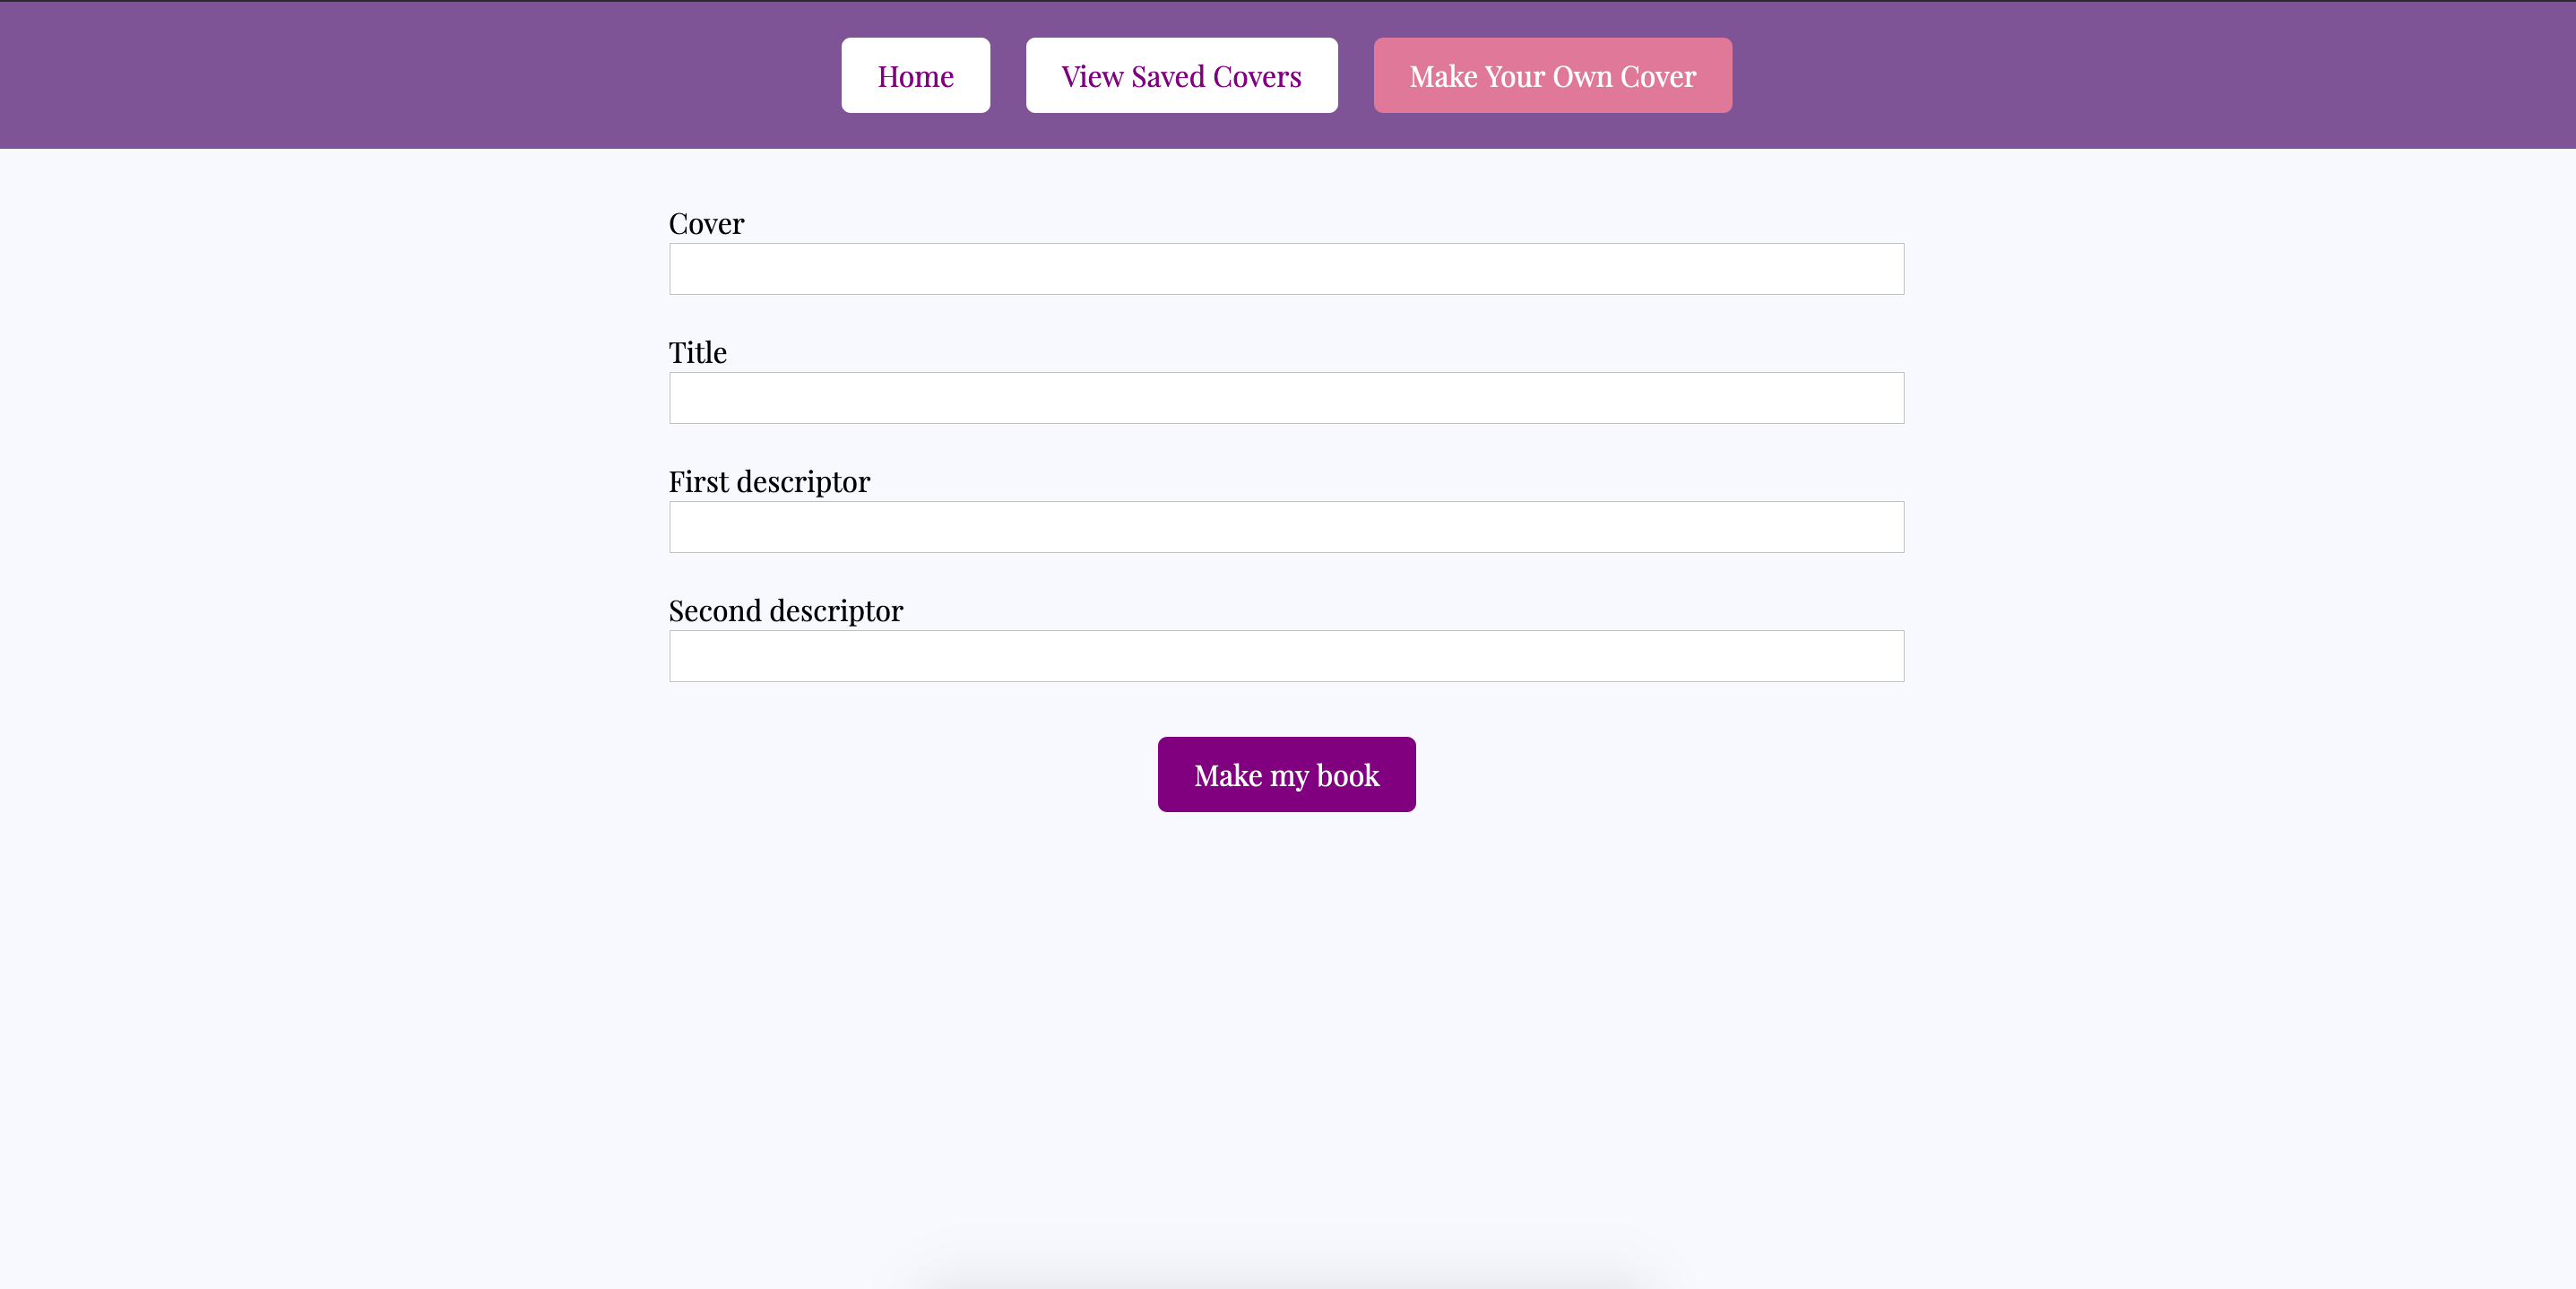
- In the new cover form view, users should be able to fill out the four input fields and then hit the Make My Book button
- When the Make My Book button is clicked, several things will happen:
- Save the submitted data into the respective arrays (cover URL into the covers array, title string into the titles array, etc) so that future random covers can use the user-created data
- Use the values from the inputs to create a new instance of the Cover class
- Change back to the main home view (hiding the form view again)
- Display the newly created cover image, title, and descriptors in the main cover
Hint!
Is something weird happening when you click the button? Try googling event.preventDefault()!
Iteration 3 - Saving & Viewing Covers
- When a user clicks the “Save Cover” button, the current cover will be added to the
savedCoversarray - If a user clicks the “Save Cover” more than once on a single cover, it will still only be saved once (no duplicates)
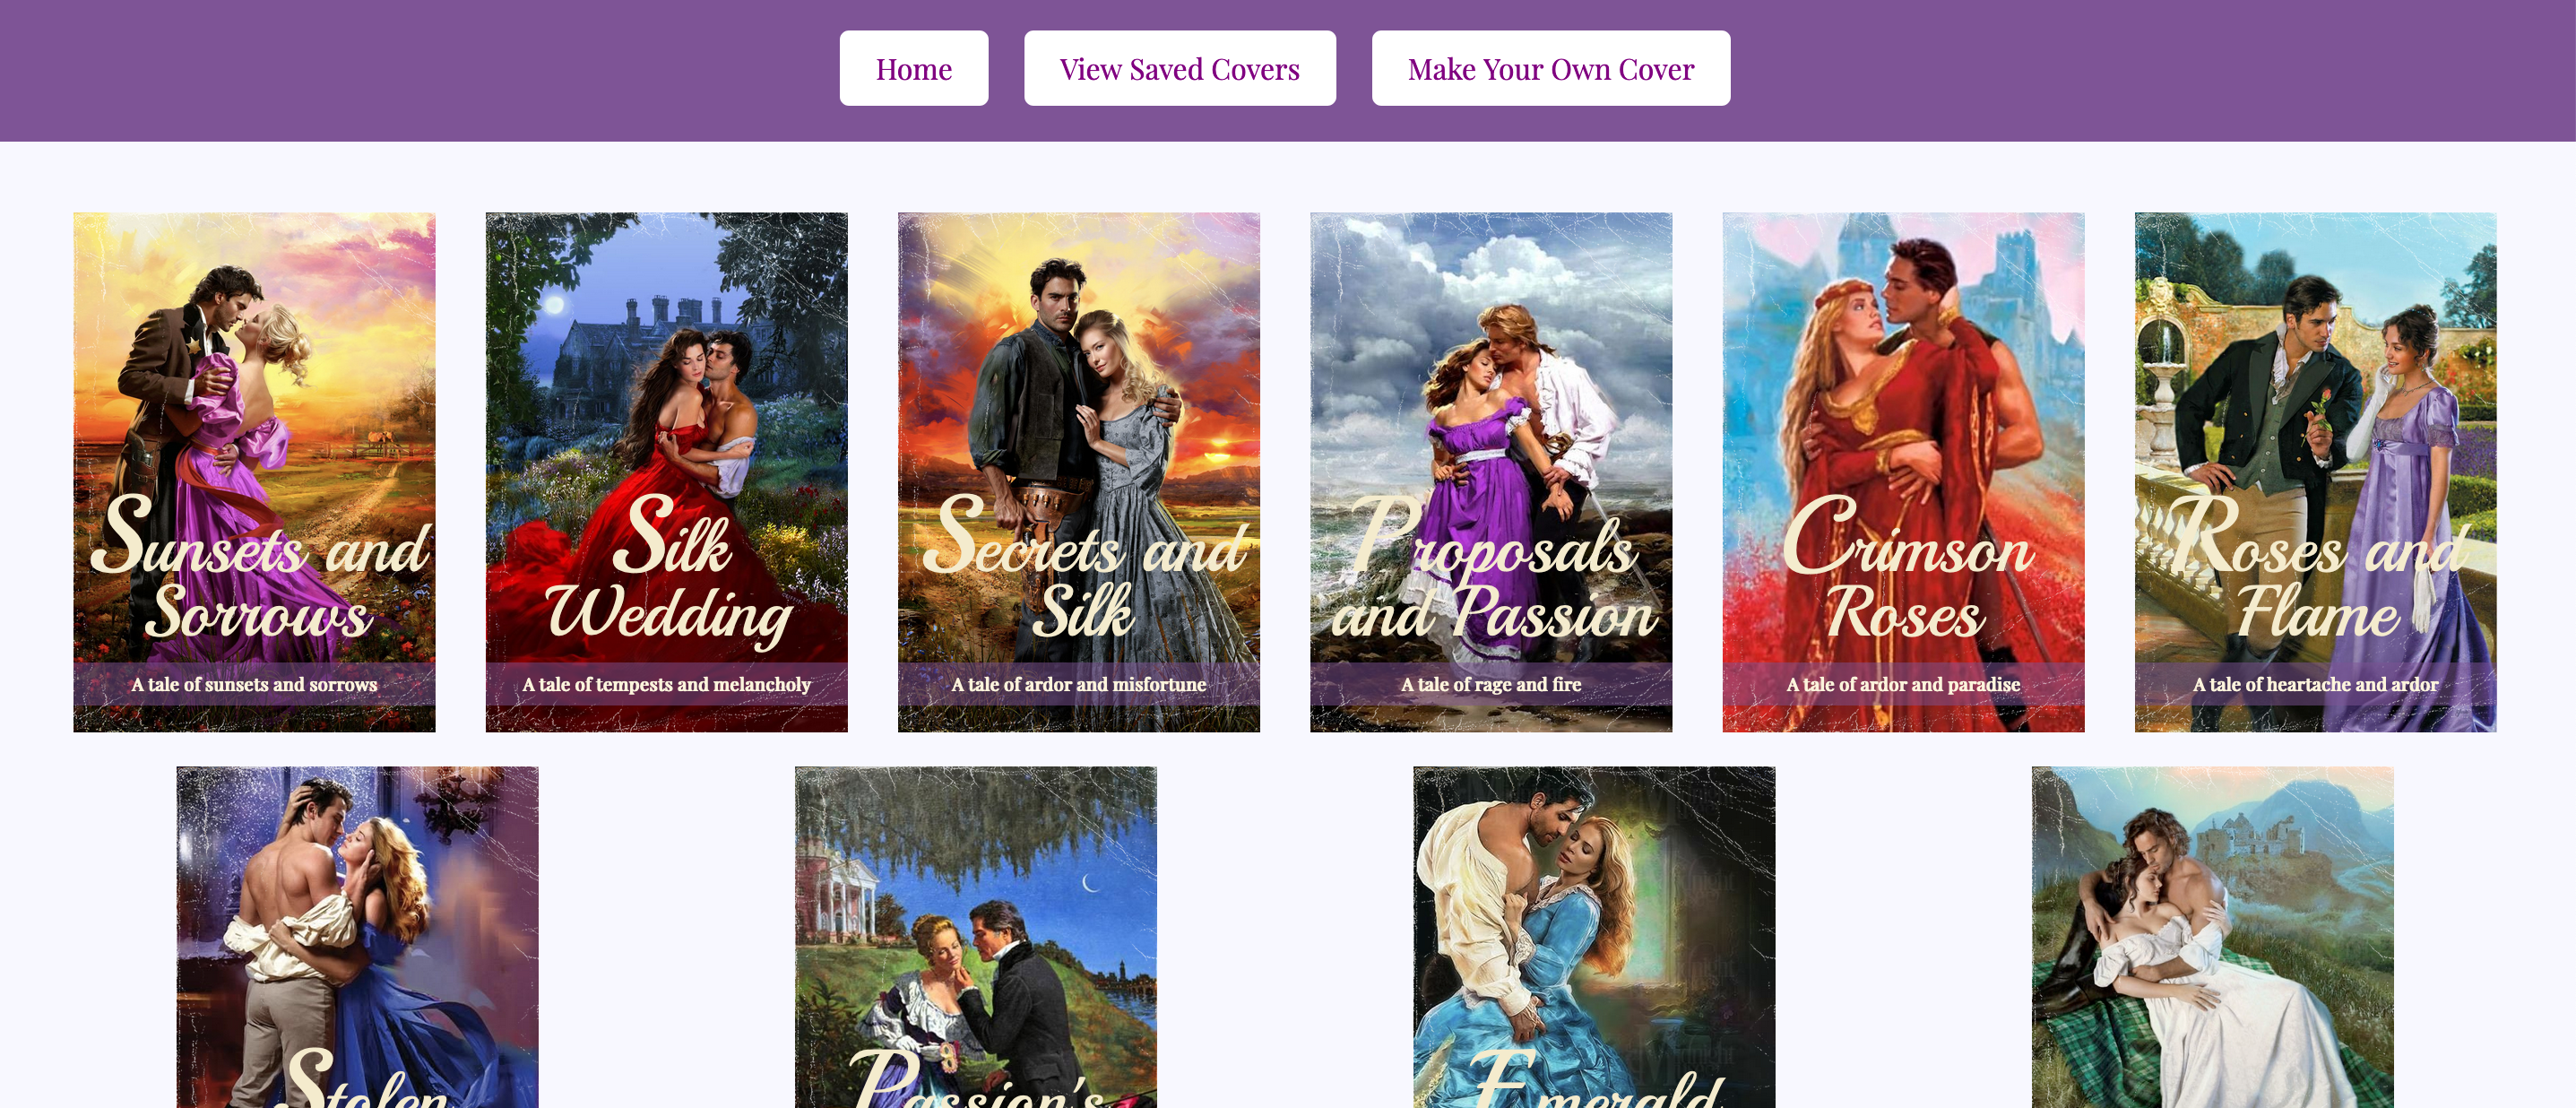
- When a user clicks the “View Saved Covers” button, we should see the saved covers section
- All the covers in the
savedCoversarray should be displayed in the saved covers section
Note: None of this needs to persist on page load
Iteration 4 - Deleting Saved Covers
- From the saved covers view, if a user double clicks a saved poster, it will be deleted
Hint: How will you update the data model to achieve this? Note: None of this needs to persist on page load
Optional Extensions - Gettin’ fancy
Here’s a list of possible extensions to implement - but ONLY IF your team has completed all the previous iterations AND have cleaned up your code to make it DRYer and more readable.
You are welcome to add your own extensions. Be sure they are thoughtful in terms of UX/UI, and that they do not break any prior functionality.
- Implement data validation and error handling into the form (disable the button until all fields are filled, provide error messages if data entered is not correct, etc)
- When a user single clicks a saved cover, create a modal to view it larger
- Allow users to drag and drop saved posters into whatever order they want them to appear
Notes on Project Feedback
The rubric below serves as a guide for both students and instructors.
Students:
- It should be used as a reference throughout the project to keep on track and guide learning.
- It should also be used by students to self-assess their work.
Instructors:
- It should be used to evaluate the project at its final due date/time.
- It should be a guide to provide relevant feedback to students so they can grow and improve in the areas that need deeper understanding.
 Projects as Learning Tools
Rubric
This project has 3 evaluated concepts:
- JavaScript
- Workflow & Professional Habits
- Reading Code
And evaluation of these concepts is assisted through the final graded section:
- Functionality (we can’t properly assess the 3 main concepts if there is not enough work to grade)
JavaScript
This project gives the team room to practice the following JavaScript concepts:
- OOP (Object Oriented Programming)
- DOM (Document Object Model) manipulation
- Style
- SRP (Single Responsibility Principle) and DRY (don’t repeat yourself) conventions
- Readability - semantic naming, consistency, conciseness
Competency & understanding of these concepts can be demonstrated in many ways. The following examples are not checklists to complete! They are illustrations to guide your team as you develop this project and continue your learning.
OOP competency examples
DOM Manipulation competency examples
JavaScript Style competency examples
Each of these “subsections” are not distinct; they are all taken into consideration when the outcome for JavaScript is determined.
Workflow & Professional Habits
This project gives the team room to practice the following skills:
- Collaboration
- Git
- GitHub
Competency & understanding of these concepts can be demonstrated in many ways. The following examples are not checklists to complete! They are illustrations to guide your team as you develop this project and continue your learning.
Collaboration competency examples
Note: ⬆️this⬆️ kind of collaboration can be difficult to assess, but know that this is a crucial and vital part of your learning and marketability as a developer!
Git competency examples
GitHub competency examples
Each of these “subsections” are not distinct; they are all taken into consideration when the outcome for Workflow and Professional Habits is determined.
Reading Code
This project gives the team room to practice the following skills:
- Reading code written by someone else (provided boilerplate)
- Effectively making use of existing code
Competency & understanding of these concepts can be demonstrated in many ways. The following examples are not checklists to complete! They are illustrations to guide your team as you develop this project and continue your learning.
Reading Code competency examples
Functional Expectations
Functionality is the least important piece of the rubric. It’s included because it is another benchmark to gauge proficiency. However, you should not pursue functionality at the expense of code quality or the learning/growth of all team members.
This means, we DO NOT want to see:
- Code that pursues extensions but is sloppy
- One or both team members do not understand every single line of code
- One or both team members skips the problem solving process (pseudocoding, talking out the problem, articulating, planning) in the pursuit of completing functionality
Well-refactored, thoughtful code is better than sloppy extra features.
Functionality competency examples
Feedback
A few days after the due date, your team will receive feedback about the project’s average outcome (yes/not yet/wow), as well as each section’s outcome. You will also receive a few pieces of team-specific feedback for each section (things done well, things to improve on for the current/next project).
Common feedback to all projects will also be shared with the cohort. There will be time in the calendar to review these items and figure out how to apply your learning to your current and future work!